
Car Insurance
Car Insurance: Your questions answered.
When it comes to car insurance, it can be intimidating to make sure
When it comes to car insurance, it can be intimidating to make sure

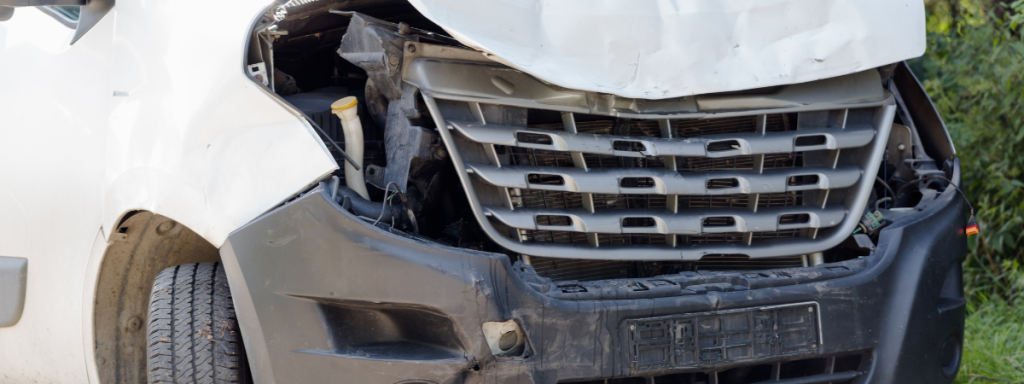
Your van works hard to keep your business going. Day in and day
When it comes to car insurance, it can be intimidating to make sure

Last updated 29 January 2022 How long has it been since you read

But what do you look for in a first car if you’re a parent/guardian? We’ve put together a list of the top 5 cars for first-time drivers.
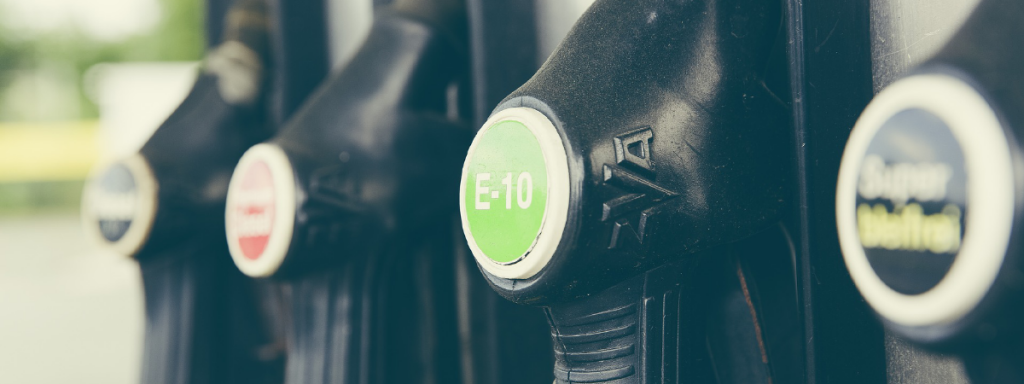
A new government scheme is being introduced on September 1st with the aim
Your van works hard to keep your business going. Day in and day

As the winter weather approaches, drivers who rely on their vehicles will need

These trades need much more than a standard, off-the-shelf insurance policy – they
Falling asleep or driver fatigue while driving any kind of vehicle is one

How to spot the warning signs of subsidence? Subsidence claims tend to rise
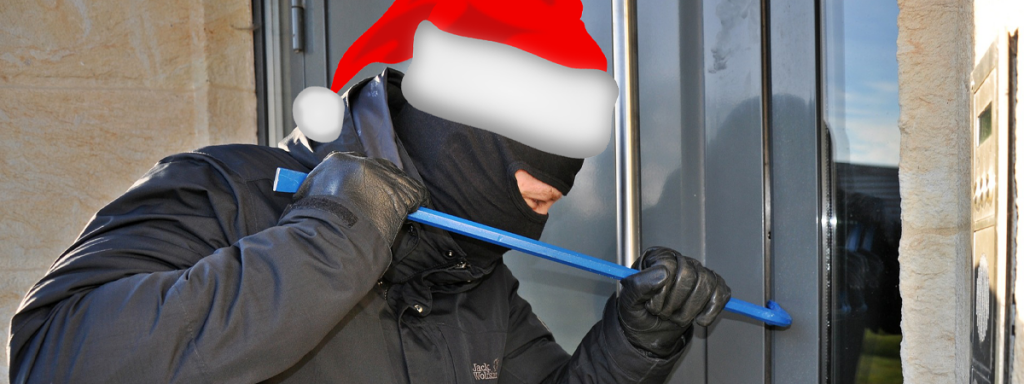
Father Christmas isn’t the only person wanting to sneak into your home this Christmas.

How to keep your home warm this winter. Autumn has come and gone

Many fireworks displays have been cancelled for a second year running, due to
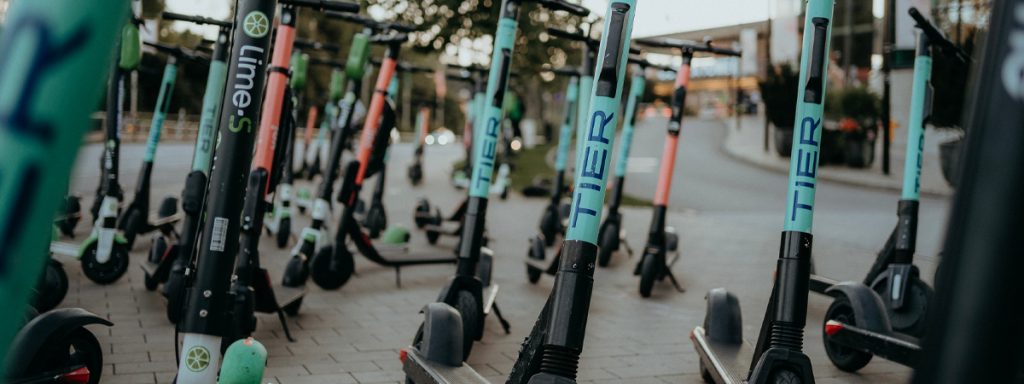
Are you thinking of ditching your car for a greener mode of transport?

And Is America building a Death Star? Getting car insurance for a young

It feels like it was just yesterday that we made our initial trip
World-class AWD Gymkhana driver Jake Archer, fortunately, didn’t live up to his ‘Wrecking